By now I've lost track which phase number I'm at, but there has been a major change in the work that is being done. It's now time to get into the body work, full time. Done with the wiring, cutting, grinding and welding. As in a lot of projects, flexibility moves in and somewhat replaces a lot of the planning. Which sorta reminds me of an instrument training flight one time into Everett WA. to runway 16. It was December, we were on final, the needles were centered and our heading was in the range of 205 even though our track was 160, the wind was gusting out of the west with a lot of turbulence, we were still in the clouds at 300' agl. When we popped out (about two to three miles north of the field) there was no runway to be seen through the windshield. I could see a shoreline going the direction my Mooney was pointed. My flight instructor, Bill B. who always remains super calm, told me to look out my left side window to see the runway. To say the least it was a little unnerving having to look out that side window to see where we were actually flying. We then continued down to 200', called the tower to announce the missed approach and decided to go back to Puyallup where the weather and visibility was much better. On the return trip to Puyallup Bill said that even though flying instruments should be very precise, you still need to be very flexible in your decision making. Makes sense to me.
Well, changing plans, is not something I like but as long as we keep moving in the general direction that has been laid out, that seems ok to me, for now. Besides, what can possibly go wrong. Actually, the biggest deviation from "the plan" has been in timing. I guess this should have not been a big surprise. Although, it's a little disappointing that we will not be ready for the National Street Rod Association show in Ridgefield Wa at the end of June, but there'll be next year.
The top and the windshield needed to be installed to make sure the fit is correct, prior to paint and final body work. There was a slight modification to the dash where it meets the windshield. All else is good.
I mentioned in a previous post that fender welting was probably not going to be used. The final decision is that it won't be used. Therefore the body/fender seam has to be addressed. I don't want to be telling myself later "I should have used the welting because the gap is too large", therefore let's make it fit now.
Here is the fit after a few hours of work.
The final smooth coat has now been completed. Time to remove the fenders, running boards, trunk lid, and deck lid, in preparation for priming with etching primer.
With the black etching primer still in the wet stage, you can look at the surface and see if you were successful with your body work. If not, more smooth coat can be added after the primer has dried. If all looks ok then a filler primer is added to fill in the sanding scratch marks left from the previously used sand paper. The process of adding filler primer will continue until we work down to using either 400 or 600 grit paper.
Now comes the task of masking off the areas you don't want painted. Almost complete.
Dan Hagerty, Vetteworks, Auburn has not given up on trying to make the tap shift work.He's like a bulldog, with an idea. But he's stumped why the tap shift buttons are not being recognized by the transmission control module, TCM. We both know it's something simple, as was the cruise control. Just finding the correct combination of buttons, in this case.
If you are a Corvette owner who likes to occasionally put your car on the track or if your car is 100% race Dan has some great safety products for your car. I would go see him or give him a call. He's very knowledgeable about Corvette and he's a great communicator.
With all of the reloading of the VIN numbers using the Trailblazer, Yukon and staying away from the Corvette, on the word of Jared at Current Performance, who has caused me two months extra time in getting my cruise control working due to the error in the pinouts, remember. Well, it's happened again.
In the search for help with the TUTD buttons, I somehow came across a fellow by the name of Mark Romans. I then contacted "Mark Romans Tune" in Sac CA. Mark actually works for GM but has a tune business on the weekends. A great guy to talk with, and very knowledgeable when it come to late model GM stuff, especially the computers. He told me to go ahead and load the Corvette in the TCM. Even though the Corvette has a BCM he said the Corvette TCM signal doesn't go through the BCM. He told me a lot of tuners know there is a BCM in the Corvette and therefore tell everyone to stay away from them, that it won't work. But this is not the case. So, back to Sumner Chev to load a 2013 vin from a Corvette I found on Autotrader.com. Actually, I brought along another vin from an 08 Vette just as a backup, since both were on Auto Trader in the same location.
Here Steve S, at Sumner Chev has just completed loading the TCM with the backup 08 since the 2013 wouldn't load for some reason. Now it's time to go out and test drive. As I pulled out of their parking lot I first noticed that the car was shifting. This is a good thing that sounds rather simple, but in reality, if the loading is done wrong the car goes into limp mode, remember back almost a year ago, when it was 2nd gear only. Well, this time it was shifting into all of the gears so I thought that just for the heck of it, on the way back to the dealership, I'd try D-5 which is one position down from drive. This is the position that the gearshift lever needs to be in for the TUTD shifting. All is good, the car is still going forward. So, the next step would be to actually test the TUTD buttons. Now, after all of the headaches, what are the chances this will work, virtually right out of the box? WOW with a capital "W". It started to shift up and down every time I touched one of the corresponding Tap buttons. LIFE IS GOOD. Actually, there's nothing to it. Just touch one of those buttons and it shifts. Can't figure out what took so long.
The next step was to bring the 33 out to Eric's Automotive, Enumclaw Wa. to have the engine and transmission tuned and to see the output of the engine power. Right now you might be asking yourself, why not have GM do the tuning. With the newer cars the dealerships are very limited in what they can do with their regulations and equipment. Take for example the automatic door locks. A friend just bought a new GM car and wanted the automatic door locks turned off. He was told they can do this on police cars but not for passenger cars. So there are some things that only the dealerships can and can't do. The same applies to the aftermarket guys. I thought I'd asked while at the dealership about tuning my transmission. They can load the factory specs only. Not what I want.
With the HP Tune software found at www.hptuners.com they have opened all of the adjustments to the engine and transmission. I bought the software but without having some experience with what it offers I decided to get some OJT from someone who lives and breaths this software. I do know that if doing the transmission wrong it can try to shift into two different gears at the same time, which will basically turn your transmission into a brick. In the above picture you can see, int the upper left, it's showing D-2 can be loaded with "pattern A or pattern B" under different circumstances. Also note that this page is for the "auto shift speed" section. There are tables for speed and different tables for firmness or pressure. We left the auto shift tables stock for the time being but the tables for TUTD have been changed. Essentially, the new transmissions have electric servo valves that do the shifting for you. The first four gears are actually the same as manual gears as in a manual transmission, only the electronics and servo-valves of the transmission are doing the actual shifting. This is just like what a person does with a manual transmission, only the new automatics can now be set up to shift much faster than a person can move his arm. By reprogram the speeds and pressures. With the TUTD style of transmissions you can have a combination of both. Easy shifting during normal starts and cruise and rapid shifts during hard acceleration and TUTD functions.
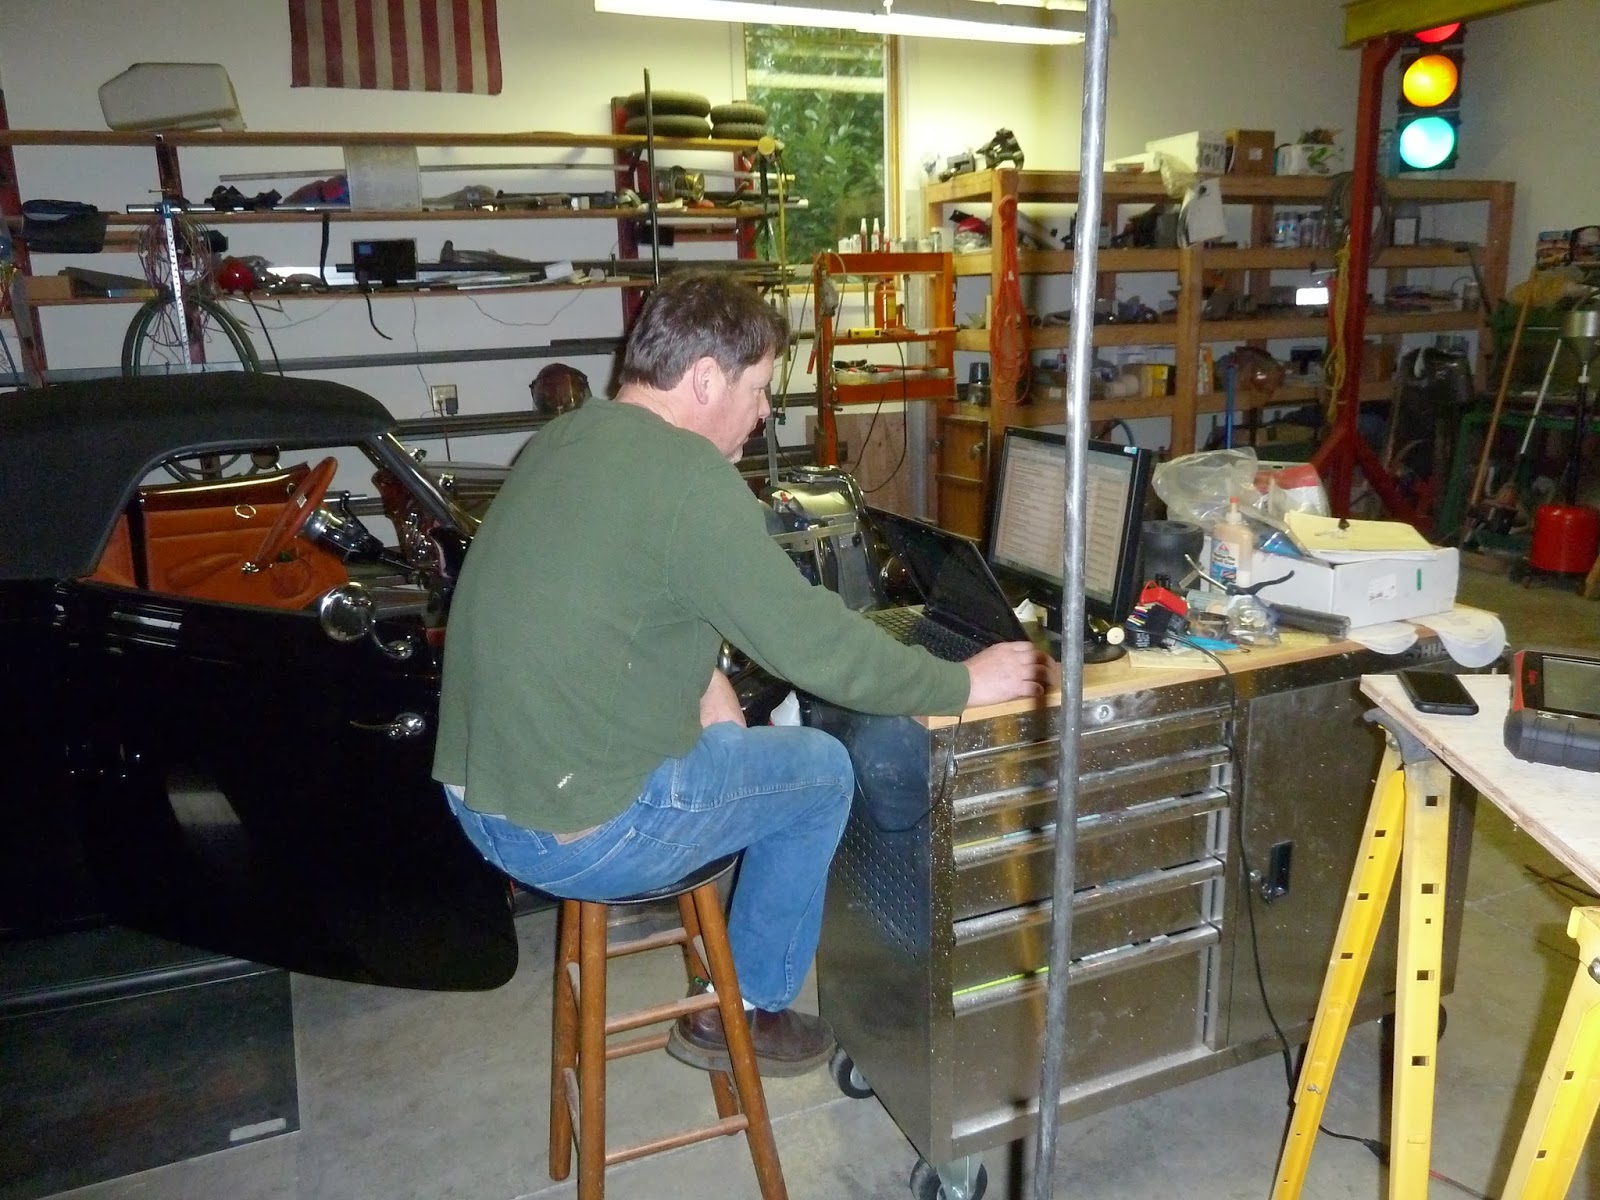
Since we have all the functions of the running gear complete, it's time to get this thing up and running the way it's supposed to run. First we need to anchor the car down on the dyno and hook up my laptop to make the adjustments. We also hooked up wiring from the dyno to the exhaust, sparkplug etc.
In this picture you can see the rollers of the dyno under the rear tires and my laptop.
Here's a picture of the dyno screen.
Shortly after we started the car, Eric noticed that he wasn't receiving any signal from the mass air flow (MAF) sensor. We did a cursory wiring continuity check, changed the MAF with a new MAF sensor, still no signal. He said it's pointless to try and tune for performance until the MAF is functioning properly. I know a lot of hotrods run without a MAF and asked how this is possible. Eric showed me a number of tables similar to the one above. The computers in your car have the ability to run on a programmed set of these tables. These tables are called VE tables. VE-Volumetric Efficiency
VE is map of predicted engine performance based on speed and MAP.
VE is how much cylinder
filling occurs based on engine displacement. This value can be over 100%
These are set for average,including theambient temp, engine temp, humidity, altitude, pressure, speed, timing, airflow through the air intake. So essentially your car will run in a limp mode to get you home or to the repair shop. And, that's what I've been running on. Of interest, something I recently found is that a number of people have commented on huge drops in their fuel economy when their car had been getting good economy. In a lot of cases their MAF's have gone bad for one reason or another. The use of K&N air filters is high on the list. These air filters can be cleaned by washing, then are to be sprayed with a light oil to aid in the air filtering. If too much oil is used, the oil will mist out of the filter media and some collects down stream in the MAF which destroys the MAF. Ergo, the computer goes to limp mode and your fuel economy goes in the tank.
Now, to run at peak performance all of the above mentioned factors need to be measured thousands of times per minute. This is the job of the mass air flow sensor, in addition to a few other sensors, like the O2, throttle position, cam, and knock sensors. After looking into the wiring of the cruise control, the five wires to the MAF shouldn't be all that difficult to figure out. I remember changing the connector to the MAF about two years ago. There are two different styles of MAF's one called a credit card style and the other not a credit card style, or simply a round style. Both are five wires, but take a slightly different connector. The credit card style is used for the Corvettes and the round one is for the Trailblazers. While initially contacting Current Performance for my harness I told them I was going to be using the credit card style since it requires less room to install. But since I was using the Trailblazer program for the ECU they installed the connector for the round or Trailblazer MAF. Not what I asked for. I contacted them, and they sent me the credit card style connector and didn't mention that the wiring was different for the two, even though both have five wires and look basically the same. I changed the connectors and used the same wire configuration. Wrong. So after searching the internet I found the configuration for the credit card style, changed the wires, hooked up my laptop and found the section on the MAF now working. I need to take some of the blame for the MAF problem but the total lack of concern and lack of response from Current Performance,"after the sale " really stands out when dealing with great communicators and businessmen like Dan and Eric. Anyway, back to Enumclaw to see Eric and his dyno machine.
The first run was to see how things are set, right out of the gate. We stopped the run at about 4700 rpm. No need to go further as, the black line, Air/fuel mixture is way off.
After Eric finished tweaking the air/fuel and a few other things this is the results. 428 hp and 417 lb.ft. This is at the rear wheels, therefore the engine hp is about 522 and the torque is about 656 lb.ft. The run was terminated at 6600 rpm as the rev limiter was just starting to kick in. What is really important is the torque curve, peaking at about 4800 rpm. Not too sure what this means but I'll keep it in mind ha. The final step was to use HP Tune to adjust the line pressures within the transmission. Eric set these so that the shift is much firmer when going to the TUTD buttons. There is more that can be done with this but at this time it's a good starting point. A little time off to watch the Superbowl........have a great day
This might take a few seconds to load on your computer.
Although we attended a couple of car shows towards the end of this summer, the 33 really was not finished. There is still a lot of engine polishing, hood, engine side covers, engine tuning, transmission tuning and the trailer. None-the-less we can still drive short trips.
It's been a while since my last blog. We have another project started in the house but I'm only watching. Just not enough time to be doing all of these other projects.
This is the before picture
This is the during picture
I need to bring the car in to a dyno tune shop so we can take full advantage of the LS3. Right now it runs ok but according to Dan H, Vetteworks, Auburn http://www.vetteworksonline.net he thinks the current tune is way off.
We worked on and off for about two months trying to get the cruise control working. Very frustrating. Everytime I would hit the "cruise on" button the engine computer would go crazy. It would shut down half the engine cylinders, and I would loose all gas pedel control. I would have to turn the car off and wait about 15 seconds for the computer to reset itself.
Although I never wanted to have to remove the dash it was necessary so I could track the wires between the cruise control switches and the ECM (engine control module).
Eventually the problem was found and not by Current Performance, Florida where I bought the ECM and engine wiring harness. When they put together the engine wiring harness they had one of the two purple wires, in the lower wiring plug placed in pinout #34 and it should be in pinout #30.
It is amazing the information you can find on the internet. The problem could have been solved quicker if the people at Current Performance would have had better customer service. I can understand where their engineering dept, who does their custom harness and was responsible for the design of this harness, can make mistakes, since using a cruise and TUTD (tap up tap down) are a little out of the ordinary for hotrods, but their lack of response and communication is their real problem.
In my search to remedy the cruise control problem, I contacted Speartech, Anderson IN. Now you want to talk about a great company, I only wish I would have contacted these guys two years ago. Between Speartech, Dan at Vetteworks and internet searches the cruise is now working.
The final step is to get the TUTD working. We will be going after that this weekend. Dan H. will be connecting his laptop to the 33 and will reprogram the ECM and TCM (transmission control module) to operate the TUTD.
None of this is a problem in a modern day car since there is a BCM (body control module) which is like the master of the modules. In the new Corvettes the BCM controls the brakes to each of the wheels, controls the throttle, security, door locks, temps, ECM and TCM. But there are problems using a BCM in a hotrod.
Therefore the bottom line is, we loaded an early Trailblazer vin (no BCM required and will run a cruise control, but only 4speed transmissions) into the ECM and will eventually do a late model corvette tune at the dyno shop. Loaded a Yukon vin (no BCM required, will run a 6 speed transmission in 08, but no cruise) in the TCM, thereby allowing us to run the engine, transmission, cruise control and the TUTD.
The trailer is almost complete but the third brake light had too much black paint over the red lense. In addition, there was a small line in the clear right along the edge of the lense. The whole idea here, as in the car, is to have the third brake light complete invisible in the black paint until the brakes are applied. So to fix these issues we had to sand down the back of the trailer and repaint.
In this picture the masking tape is still over the red brake light lense. Once all of the grey primer is covered with black color coat we removed the masking tape and applied just enough black over the red lense to make the red disappear. Then clear, buff and polish. What could be easier?
Not too sure what happened with my lackoblog in Aug. Summer time in the Northwest is just too good and it left little time for the computer.
As for the progress on the 33Ford, a ton of work has been done, as you should see in this post. So, let's get right to it.
More sanding, but this time I've decided to use this oscillating sander with water injection and 1000 paper to start then on to 1500 and 2000.
The water is coming out in a very small stream from the black circular tube.
The entire body has now been sanded and buffed. The running boards and back fenders have been installed. I really need to clean these chrome wheels prior to our first car show.
Now the front fenders have been installed.
It's time to reinstall the grill.
I brought the car back home and started to finish the wiring.
All of the wiring is complete, the A/C charged and working, and the heat complete. Now it's time to install the dash and windshield.
Back to the upholstery shop for the installation of the side panels and seats.
This is an unaltered video shot by my son Todd from a rolling start of about 10mph to 40mph. Nothing official and just the start of some timed shots to come.
The top has been installed and the wheels and tires cleaned. All ready for a car show, except the engine side covers and hood are not installed. Actually, it kind of looks like a hotrod this way. Imagine that.
I really hate to say it, but I might as well get it out right now. Yes, we are trailering our car to the car show in Walla Walla. This is our first stop at the top of Chinook Pass. With only 12 miles on our 33 the thought of a 500 mile round trip just didn't sound like the thing to be doing. Walt k to the rescue, once again with his trailer, although we would have prefered to have them along on this trip.
Next stop, Whistling Jacks for breakfast
This is just prior to the car show tour of Walla Walla. The people of Walla Walla are absolutely great about their support of the car show and their participation and overall help.
Just sitting around during a car show.
Heading back home with three hotrod drivers in the lead. We decided to come home via White Pass due to highway chip sealing over Chinook Pass. It was good to see new country, although it wasn't as much fun as the three drivers out in front of us.
What a great time. Moving on to a new phase, and by now you know how happy I am moving on to new phases. We have finally added some final paint and some clear coats to the body, but still more sanding. Since I'm still sanding, maybe this can only be considered a half phase move. Anyway, counting the final sanding of the unprimed body with 400 grit paper, there are a minimum of six more times the body and fenders will need to be sanded. Only then, can we start with the buffing
So far, I have progressed from 80, 150, 220, 400 and 600 paper, prior to color paint. Now it's time to go to 1000, 1500 and possibly 2500 paper after the clear coats. Then at least two levels with a buffer and maybe some wax.
Here's our progress for the past few weeks. But first, I think I'd mentioned we were not going to make it to the NSRA show in Ridgfield WA this year with my 33 but were pushing to go to car shows in Hamilton MT and West Yellowstone MT. during the last week in July....... Well nada this year either....... I really hate to mention the upcoming Good Guys car show the end of July, here in Puyallup, or the Good guys in Spokane during the second week of Aug. for fear of not being ready for them either. Hey, there's Walla Walla the second week of Sept............ At this point one never knows.
All of this time and push, push, push leaves me with little time to do anything else like flying or hitting the treadmill like I'm supposed to. When I go to my cardiologists this fall and hand him my treadmill schedule for July is going to look rather weak. I'm in trouble now.
Even though we were not able to bring our American Speed 33 to the Ridgfield WA NSRA show this year I was lucky enough to ride in with Eddie R. and be with a great group of our very good friends. As Dave D. a friend in Spokane says "Good food, good drinks and good friends, it doesn't get any better"
This picture shows the line up of cars waiting to get through the entry gates. Those in the line on the right are heading down the road about a mile, they will then do a 180 and head back this way. Sounds kinda crazy, if you're to really think about it.
On to the progress.
The second coat of primer has now been wet sanded with 600 paper.
The color paint will be purchased from PPG. I decided not to go with flames on the 33, although they look rather striking on this PPG truck at the NSRA display in Ridgfield WA.
In this photo, the first coat of actual color is being applied over the the dull black primer. Both coats of primer were lightly sanded with 320 then final sanded with 600 paper.
Speaking of primer, I feel very fortunate that I didn't have to use a fill primer, which is tan in color. Therefore, everything we applied to the body and fenders of the car is now black in color (should there ever be any rock chips the underlying color will be black and therefore the chip will be visually more difficult to see) If you recall the pictures of the trailer, it was primed with the tan filler primer, due to the trailers overall unevenness. Fill primer needs to be used if there are larger imperfections or an unevenness of the surface that needs to be filled prior to the next level of sanding. The type of black primer I used has very little of this filling property but offers excellent etching properties, which acts as a bond between bare metal and another layer of primer or paint.
More color coat being added over the primer
The first coat of the black color paint is now almost completely applied. An identical second coat of color will be applied over this coat.
Once the color coats have been given about 45 minutes to dry the clear coats are applied.
In this picture, two double coats of clear have been applied and we're starting to see some shine.
After the clear has dried for a few days it's time to finish sand to a 1500 or 2500 level of paper. Since I will be using a rubbing compound after the finish sanding, the level of final sanding paper is actually determined by the coarseness or roughness of the compound and buffing pad a person chooses. So, if your compound will remove 1500 sanding scratches there isn't much need to sand with the finer grit 2500 paper. Let the buffer do the work.
A very common problem in painting is a slight unevenness of the applied paint and/or clear coats. This unevenness results in a surface like the surface of an orange or the surface of a basketball. Now, think of a surface with mountains and valleys. What our goal is is to sand off the tops of the mountains until they are an equal height to the bottom of the valleys and we end up with a flat surface.
I'm told there are many causes for the orange peal effect, distance the spray tip is away from the surface, air pressure, temperature, paint viscosity and over spray or drift. The above picture is an example of orange peal I could find and by lightly sanding it stands out very well. At this point, I have lightly block sanded, dry, with 1000 paper on a taco board. Thanks Tom M.
You can also see three dots which are dirt specks, which will be sanded from the surface. This is one of the trailer fenders I brought home, after the two coats of clear.
So here's the bottom line, the better the painter the less orange peal that will need to be sanded. I think anyone can apply paint, but it takes a painter to eliminate or reduce the orange peal.
Here is the fender after entirely sanding the orange peal off the top half, where the color now appears 100% grey. I used 1000 and finished with 1500 paper. Now, all of the orange peal will be sanded off and the entire surface will look like the top part of this picture.
This picture is actually a reflection taken from the top of the above trailer fender prior to any sanding and shows the average of the irregularities in the surface of the trailer fender prior to any sanding. There is a small amount orange peal in this surface, which was about typical for most of the body and fenders.
Here is the exact same area of the fender after I sanded and buffed. It still needs to be polished and waxed.
Back to the body shop. Over the weekend, the painter said he decided to lightly sand the last layer of clear on the entire car with 600 paper because he felt he could apply a smoother final coat of clear. Here is the car after two more coats of clear have been applied. I think it was a good call on his part. I can tell you, just by looking, that this decision will save me many hours of sanding with 1000 paper. He paints and I sand. Thanks Gary D for this decision.
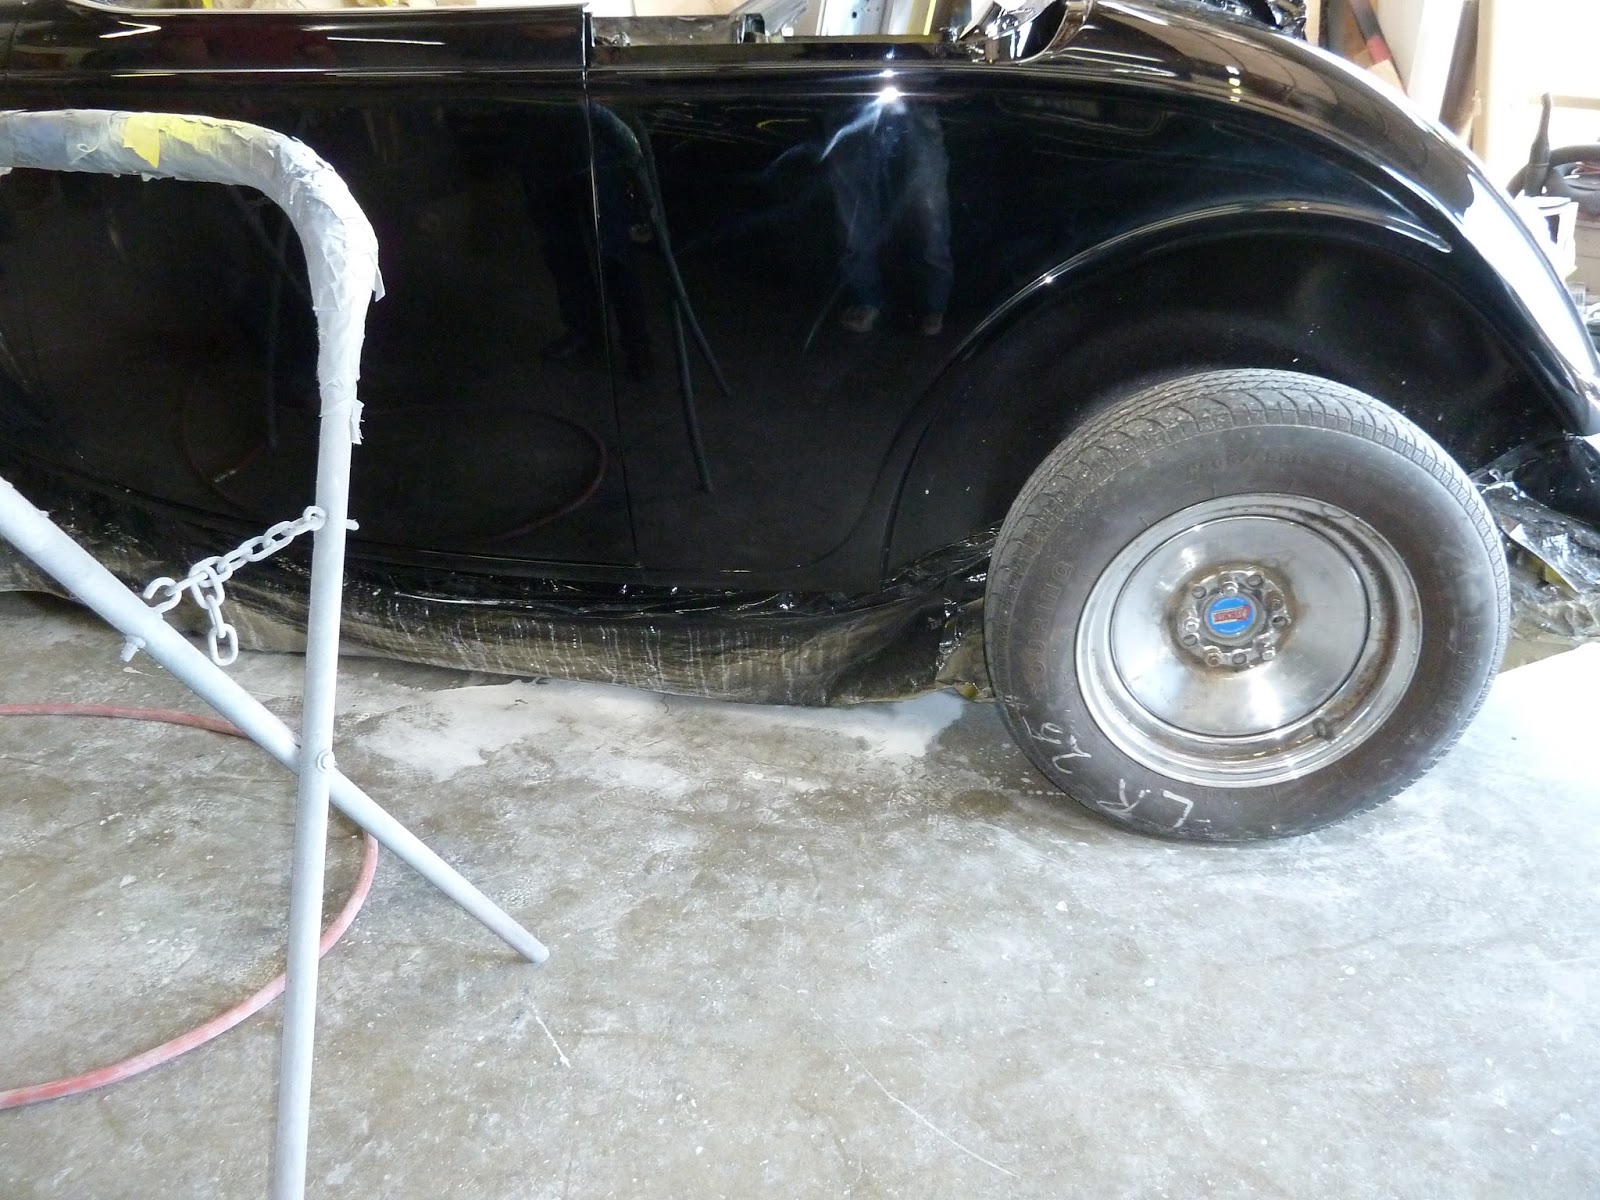
This picture is another reflection and it shows another car that's about 15' away, after the side and door have been sanded, buffed and polished. It's finally coming together. Now, on to sanding and buffing all of the remaining parts and then on to putting the fenders, running boards etc. back on the body for the last time.